
i3D Workbench · Input tool Available
Generate with AI
Create a 2D image from a text description using AI, then convert it to a 3D relief.
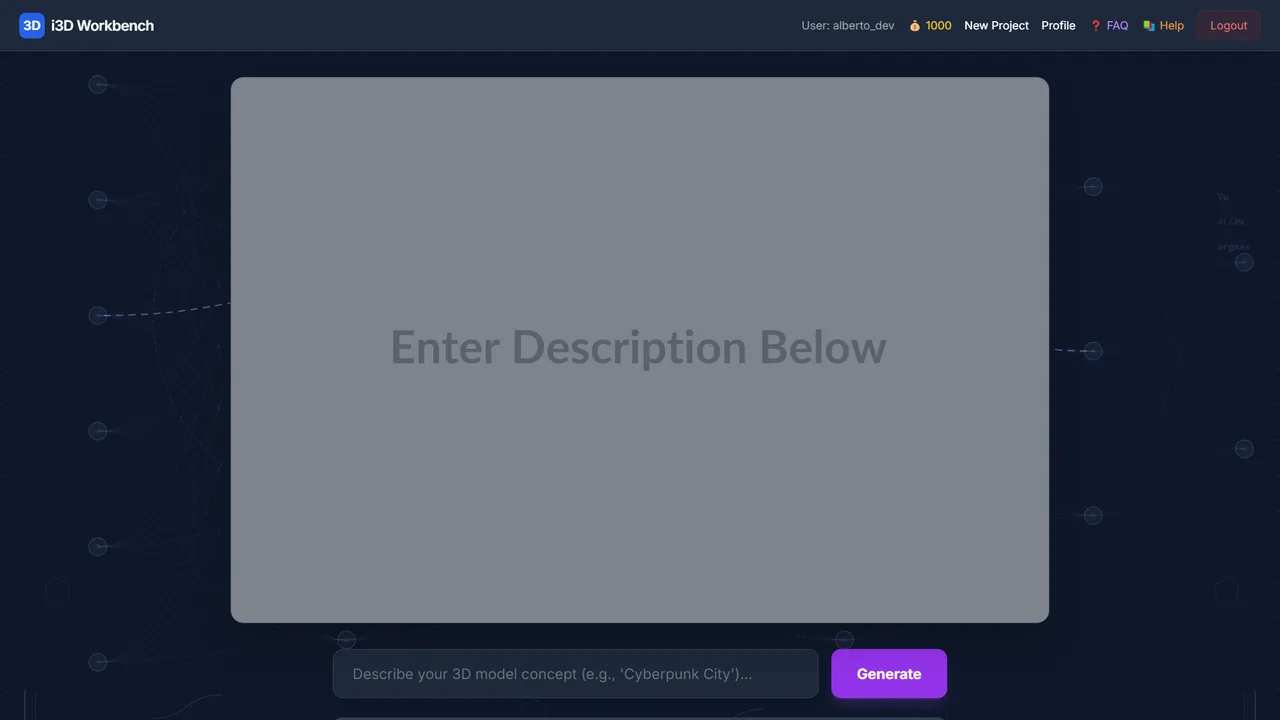
Generate with AI is the text-to-image tool of the Ahaborg i3D Workbench: you describe a picture in words, an AI model draws a bitmap from 256×256 to 1024×1024 px, and the image is handed straight to the Bitmap to 3D Model Editor to become a CNC-ready 3D relief (STL or GLTF/GLB).
| Group | Input |
|---|---|
| Status | Available |
| Output | PNG bitmap (handed to Model Editor) |
| Max upload | 300 MB per file |
| Runs in | Desktop browser with WebGL 2 (Chrome, Edge, Firefox) — computation on Ahaborg's C++ backend |
| Billing | Pay-per-use credits, no subscription |
| Documented in | i3D Workbench User & Reference Manual v2026.10 |
Overview
Type a description of the image you want, choose a resolution, and click Generate. The AI produces a bitmap which is then passed into the Model Editor (Curve Editor) for 3D parameter adjustment — exactly as if you had uploaded it in Bitmap to 3D.
Step by step
- Open Generate with AI from Select Mode.
- Write the Text Prompt. Describe subject, style and tonality (e.g. “eagle head low-relief, high contrast, gray tones”).
- Choose the Resolution (256×256 … 1024×1024).
- Click Generate. The preview appears after a few seconds; generate again if you want a different take.
- Click Next: Curve Editor to continue with the Bitmap to 3D workflow (see that chapter).
Controls
Controls
| Control | Range / values | Default | What it does |
|---|---|---|---|
| Text Prompt | — | — | Describe the image — subject, style, texture. Be specific for better results. |
| Resolution | 256×256 … 1024×1024 | 512×512 | Output image size. Larger resolutions produce finer 3D mesh detail but take longer to generate and process. |
| Generate | — | — | Sends the prompt to the AI server. The result appears as a preview. Each generation consumes credits. |
| Next: Curve Editor | — | — | Hands the generated bitmap over to the Model Editor. |
Tips & tricks — Generate with AI
- High-contrast grayscale prompts convert best to 3D relief. Describe the subject as if you were describing a coin or a medal: “low relief”, “embossed”, “single light from the top-left”.
- Ask explicitly for a plain background. Busy backgrounds become noise in the relief and waste milling time.
- Avoid text in the prompt unless you want it engraved — AI lettering is often distorted.
- Generate at 512×512 while iterating on the prompt; switch to 1024×1024 only for the final image to save credits and time.
- Save the bitmap you like (right-click the preview → Save image) so you can reuse it later in Bitmap to 3D or LaserX without regenerating.
Troubleshooting
The preview never appears.
The AI provider may be slow or rate-limited. Wait for the status text; if it reports an error the credits are refunded and you can retry.
The relief looks flat after conversion.
The image has little tonal range. Regenerate with “high contrast” in the prompt, or raise Contrast/Z Scale in the Model Editor.
Works well with
Tools that chain with Generate with AI — see the workflows.