Workflows that chain tools

Proven recipes from the i3D Workbench User Manual: combine the tools to go from a photo, a prompt, a 3D model, a probe scan or a vector drawing to a finished part.

Photo → milled relief

Photo → milled relief

  1. Bitmap to 3D: upload the photo, set Z Scale / Details, shape the Z curve.
  2. Final View: Download STL.
  3. MillX: upload the STL, roughing + finishing operations, Calculate, Export GCODE.
  4. NC Viewer: open the G-code and check ranges and retracts.
Text prompt → laser engraving

Text prompt → laser engraving

  1. Generate with AI: generate a high-contrast image and save it.
  2. LaserX: open the saved image, set DPI and power, Download Result.
STL → laser engraving of a 3D model

STL → laser engraving of a 3D model

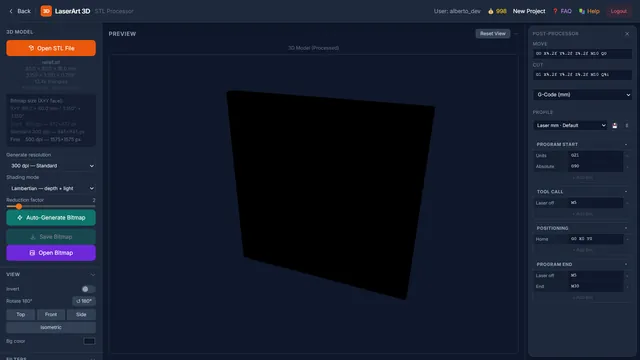
  1. LaserArt3D: upload the STL, choose viewpoint and shading, Process, Download Result.
  2. Optionally Save bitmap and refine it in LaserX.
Probe scan → machined copy

Probe scan → machined copy

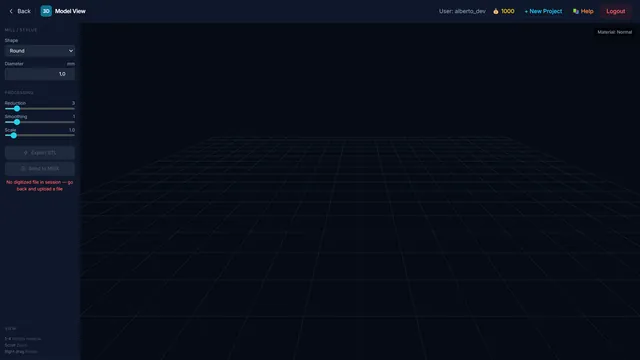
  1. Digitized Data to 3D: upload the .dig/.pun file, set stylus diameter, Smoothing.
  2. Send to MillX and mill it.
Vector art → knife cut

Vector art → knife cut

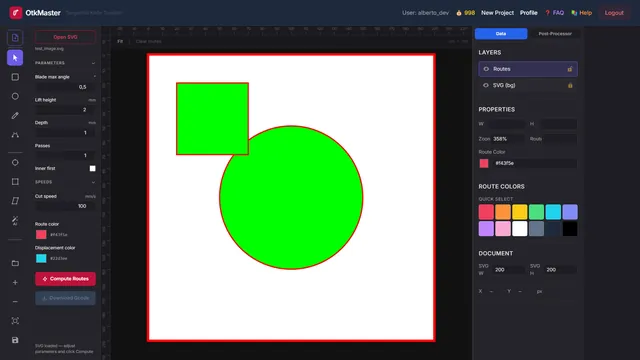
  1. VectorLab (or any SVG editor): prepare paths in mm, Union overlapping shapes, Export SVG.
  2. OtkMaster: open the SVG, Inner first on, Compute Routes, export.
Part → food mold

Part → food mold

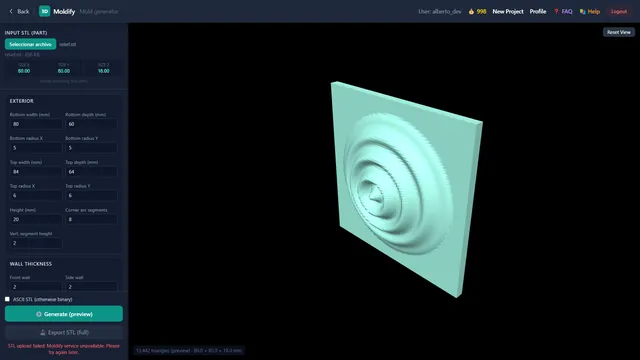
  1. Model the part (or export it from Bitmap to 3D).
  2. Moldify: open the STL, set exterior with draft, walls and push-out holes, Generate, Export STL (full).